Use the Forge Anvil to Reach the Weapon Upgrade Cap
Upgrade eligible weapons at the Forge Anvil in Deep Dish Dungeon, up to level 3. Check the upgrade level in your weapon's tooltip and read the Anvil's requirements before spending materials on the next enhancement.
Bring Your Weapon and the Materials for Its Next Upgrade
Bring an eligible weapon and gather the materials for the upgrade you want to apply. Scrap Metal is required throughout the upgrade path, with Wood Planks needed for the first enhancement and Grinding Stones for later levels. Choose a weapon you expect to keep using before committing your stones.
Scrap Metal and Wood Planks can turn up in chests and at spawn points around the dungeon. Collect them while exploring, then set aside the amounts listed below for your weapon. Keeping your upgrade supplies together makes it easier to prepare before returning to the forge.
Reach the Forge and Enhance Your Weapon
- Take the staircase in the main hub that leads to metal bars, bringing you to the entrance of the forge route.
- Break the bars with the Hammer to open the room beyond and continue toward the forge.
- Follow the left-hand route through the ceiling opening to reach the smelter area.
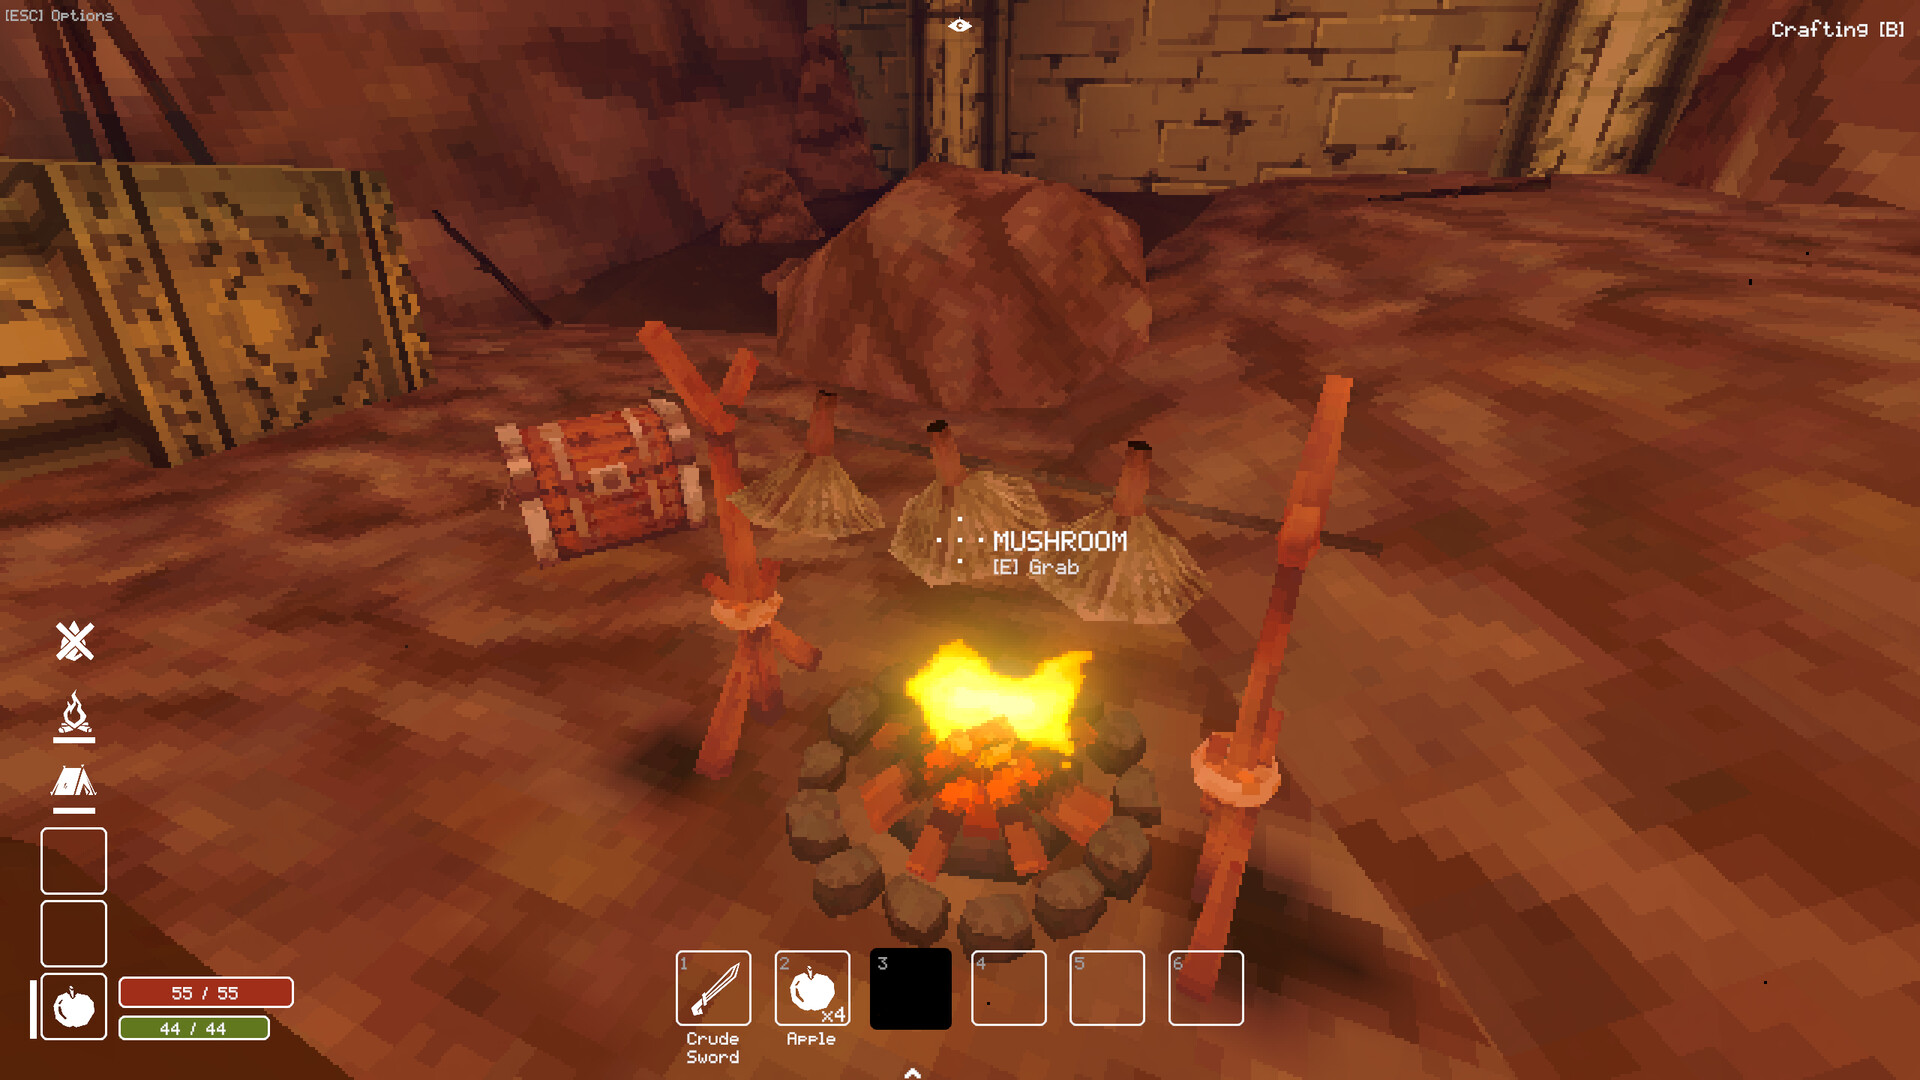
Place your eligible weapon into the Forge Anvil to prepare it for enhancement; watch the Anvil interaction in the gameplay video.Playing this video connects to YouTube.
- Apply the next weapon upgrade using its required materials to increase the weapon's damage.
- Inspect the weapon's tooltip after the enhancement to read its upgrade level before preparing another upgrade.
Upgrade Costs, Time and Damage Bonuses
Each damage bonus is the total improvement over the weapon's original damage, including earlier enhancements. Do not add the rows together when comparing the final result. Compare against the same weapon's base damage, and remember that food bonuses can also affect damage.
Find Grinding Stones for Higher Upgrades
The Corn Gem chest also contains a Grinding Stone used for higher-tier weapon upgrades. Bring an Axe and a Grappling Hook for this route. Grappling Hooks are crafted in your inventory, while Hooks are crafted at the Workbench.
- Go up the central hub stairs to begin the route toward the upper rooms.
- Follow the left-hand route, then left again across the wooden plank, to reach the spiral staircase.
- Climb the spiral staircase upward to enter the room with a doorway high on the left wall.
- Use a Grappling Hook at the high doorway to create a rope leading up to it.
- Cross the room beyond the doorway to reach the roots blocking the chest.
- Cut the roots with the Axe to expose the chest behind them.
- Open the chest to collect the Corn Gem and the Grinding Stone for your upgrade supplies.
Another Grinding Stone is available along the fountain route. From the fountain, head right through the door in the wall and continue forward to the statue. Place any gem on the statue to reveal a chest containing a Grinding Stone, then take your gem back.
For help obtaining the tool needed to clear the roots, follow the Axe location walkthrough.
Weapons the Forge Anvil Accepts
| Option | Accepted Equipment |
|---|---|
| Swords and daggers | Crude Sword, Short Sword, Medium Sword, Long Sword, Knight’s Blade, Dagger and Silver Dagger. |
| Clubs and other melee weapons | Bone Club, Club, Mace and War Hammer. |
| Bows | Wooden Bow and Long Bow. |
| Axes and tools | Axe, Great Axe, Hammer and Pickaxe. |
Check the Limit Before Gathering More Materials
If your weapon's tooltip shows level 3, it has reached the upgrade cap. If it is below that level, check the Anvil's next material requirements before planning another supply trip. Needing a Grinding Stone for a later enhancement is different from having a fully upgraded weapon.
Patch 1.0.50.0 fixed upgraded weapons resetting to default when dropped during a transfer into a full inventory. The same patch also corrected multiplayer client arrows to include bow upgrades and buffs in their damage. Keep the game updated before following older workarounds for either issue.