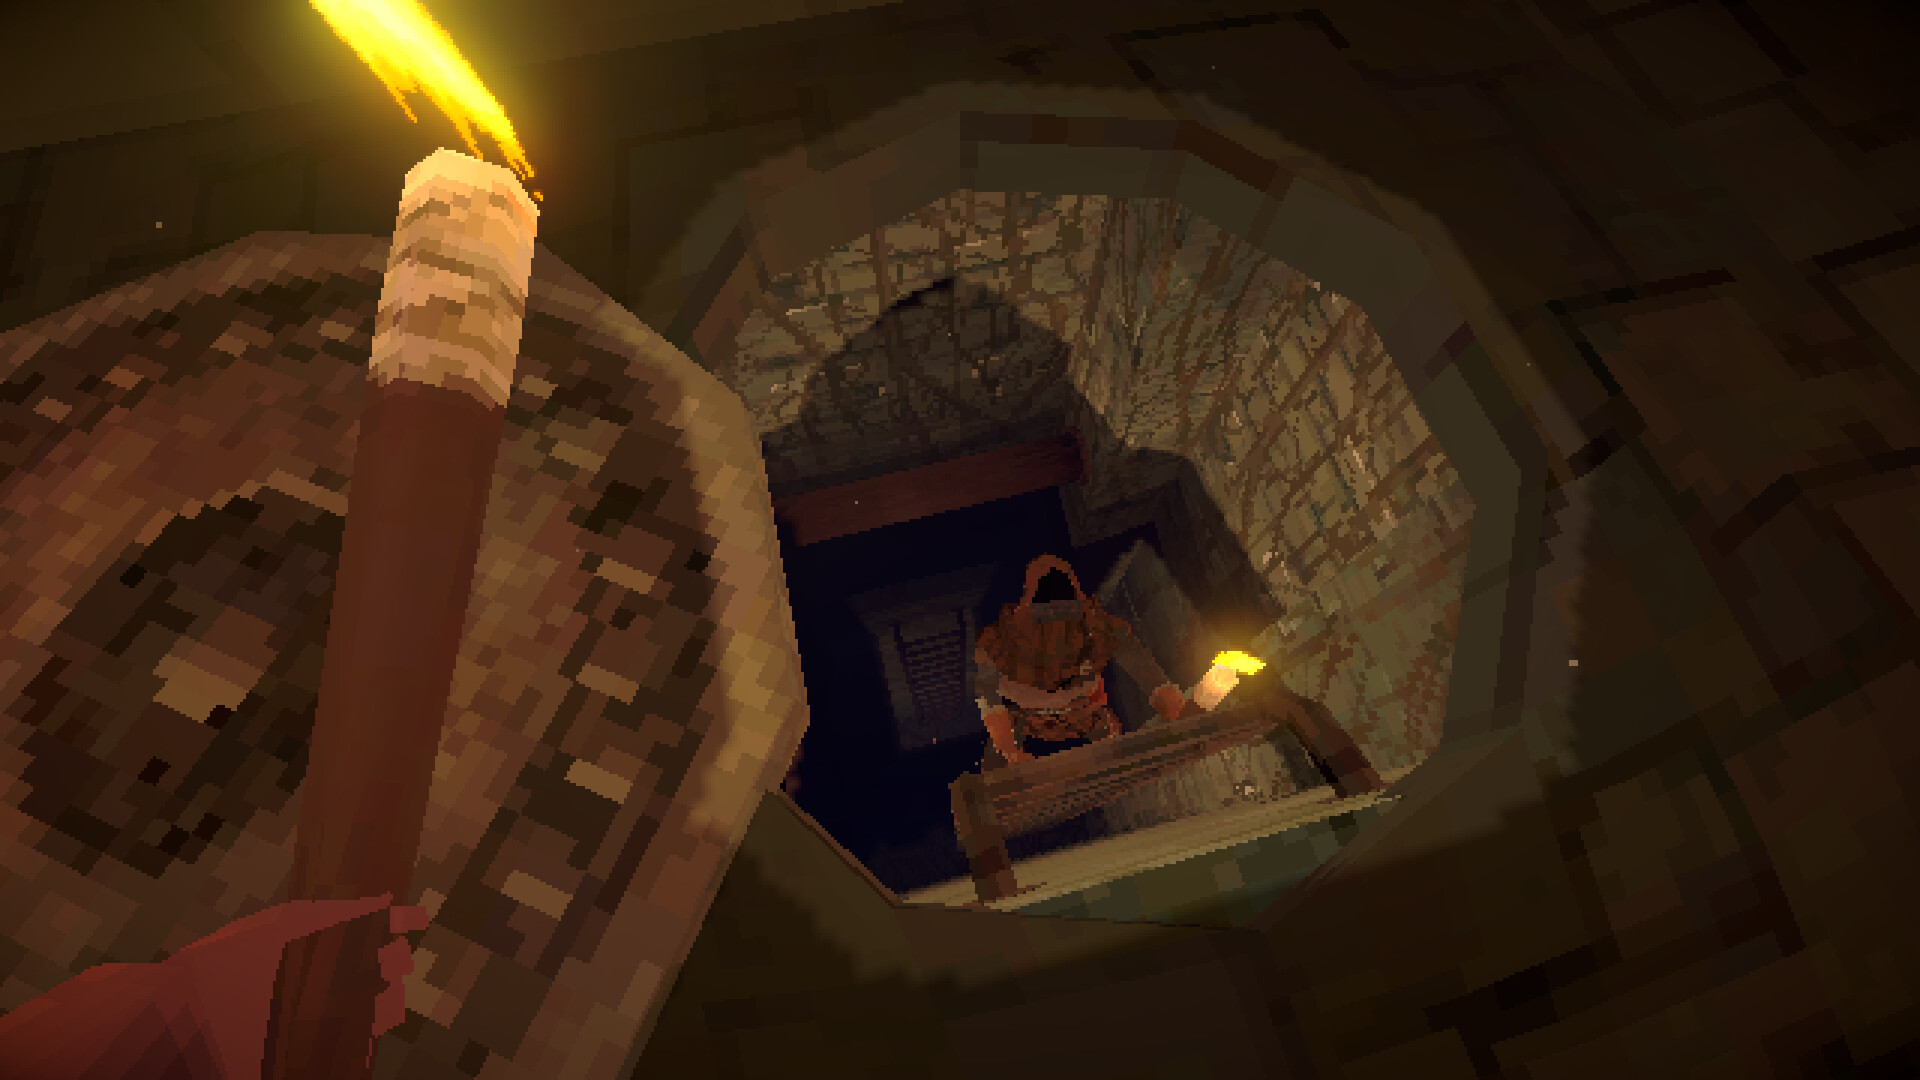
Drain the arena, then attack
To defeat the Giant Moray Eel in Deep Dish Dungeon, close all four Handwheels around its arena and attack while it is stranded in the drained center. Repeat the cycle until it dies, then collect the Guarana Gem beside its body.
Pack for the sewer route
Start from the hub camp after obtaining the Tomato Gem. Bring the Pickaxe for yellow goo, the Hammer for breakable bars and a Grappling Hook for the raised sewer route. Pack food, plus an Iron Rod and Chains for the Boat repair.
Craft the Grappling Hook in your inventory by combining a Hook with Rope. A chest near the start of the deeper sewers contains a Hook, and additional Hooks are crafted at the Workbench. For Rope, combine 2 Vines and 1 Stick in the Crafting menu.
Reach the deeper sewer camp
- Descend the rope behind the hub stairs to return to the sewers.
- Follow the right-hand path toward the stairs once the water is lowered; visit the left route first if you still need to lower it.
- Break the bars at the stairs with the Hammer to open the passage beyond.
- Destroy the yellow goo on the wall below with the Pickaxe to reveal another doorway.
- Follow the passage past the stairs and across the water to reach the camp beside the locked door.
Drain the room beneath the camp
- Clear the yellow goo near the camp to expose the first drainage wheel.
- Turn the exposed wheel to complete part of the drainage puzzle.
- Turn the wheel up the ladder to the left of the locked door to operate the next control.
- Use the Grappling Hook on the ledge near the Hook chest to create a climbing rope.
- Climb the rope and the two ladders above it to reach the skeleton.
- Follow the left route from the skeleton to reach a gate that the Hammer can break.
- Break that gate with the Hammer to reach the lime plant and the route beyond.
- Turn the wheel slightly beyond the lime plant to finish draining the room beneath the camp.
- Return to the camp's drained lower room to find a door beside the bottom of the ladder.
- Clear the yellow goo behind that lower door to reach the lever for the camp's locked door.
- Pull the lever to open the route onward from the sewer camp.
Pass the Water Clock
- Go left and down from the Water Clock while the water is drained to reach the ladder ahead.
- Climb that ladder to reach the platform above the lower passage.
- Follow the platform past the nearer wheel and across the gap to reach the farther wheel.
- Turn the farther wheel to prepare the route through the broken gate below.
- Drop down when the water drains to reach the broken gate on the wheel's right.
- Follow the passage beyond that gate and up its ladder to reach the lever.
- Pull the lever to open the door in the Water Clock passage.
- Swim back through the broken gate while the water is high to return toward the clock.
- Climb up on the left once the water lowers to return to the opened passage.
- Continue through the opened door to reach the Boat and Fuse Box.
Repair the Boat and open the canal door
- Move the nearby fuse switch into the Fuse Box so it is ready to activate.
- Activate that switch to open the room containing cooking supplies, apples and mushrooms.
- Repair the Boat's Mechanism with an Iron Rod and Chains so the Boat can move.
- Ride the Boat to the far end, passing the locked door along the canal for now.
- Carry the two fuse switches at the far end back to the starting Fuse Box.
- Install those switches in the Fuse Box to ready the controls for the next route.
- Activate the middle switch to open the door you passed during the Boat ride.
- Ride back to that door to reach the downward route beyond it.
Recover the door handle and open the shortcut
- Follow the path down the ladder and under the archway at the split to reach the Water Gate.
- Take the Water Gate Handle from underneath the stairs you used to enter; it must be carried manually.
- Install the Water Gate Handle to make the gate's water control usable.
- Use the repaired gate to lower the water and expose the door handle at the bottom.
- Drop a crate from above into the drained section to provide support for the door handle.
- Set the door handle flat-side down on the crate so it can ride upward with the water.
- Reflood the room using the gate control to bring the floating crate and handle back within reach.
- Place another crate beside the broken stairs opposite your original entry stairs to create a step up.
- Set the recovered door handle on that crate so you can retrieve it from the stairs.
- Climb onto the broken stairs via the crate to reach a position above the handle.
- Carry the handle up to its door to open the way forward.
- Open the manhole reached by the ladder on the right to create a shortcut to the hub.
- Use the shortcut to eat food and store spare materials before returning for the boss.
- Break the yellow goo on the way into the boss area to enter the arena.
Use the walls and the drained attack window
Keep close to the arena walls while the eel swims. Follow the wall to a dry resting spot if your stamina runs low. Move toward the center to attack only after the water has drained enough to strand the eel.
- Close all four arena Handwheels to drain the water and leave the eel stranded in the center.
- Attack the stranded eel while the arena is drained to use the available damage window.
- Retreat toward the perimeter when the water refills so you can approach the controls again.
- Repeat the draining and attacking cycle until the eel dies and leaves the Guarana Gem.
- Pick up the Guarana Gem beside the eel's body to secure the key item.
Collect the berries and keep the gem
Guarana Berries appear beside the defeated eel, so gather them before leaving. Keep the Guarana Gem for the Sanctuary Door, which also requires the other gems. If a treasure goes missing, the host can recover it through the Catalogue.
Continue with the Axe and Bean Gem walkthrough when you are ready to leave the sewers.