Open the snake-head door
Fill all six pedestals at the bottom of the crypt, then turn the statues to follow the bone-snake floor pattern. Treat the snake-head door as north: working from the pair nearest the door toward the farthest, face the left statues South, Northeast, Northeast and the right statues Northwest, Northwest, Southwest.
The door opens when every statue faces correctly, giving you access to the Crystal Egg. Collect the loose statues nearby and cast any missing replacements at the Statue Mold. You can complete this optional puzzle while exploring the crypt or return for the treasure later.
Bring Clay and climbing supplies
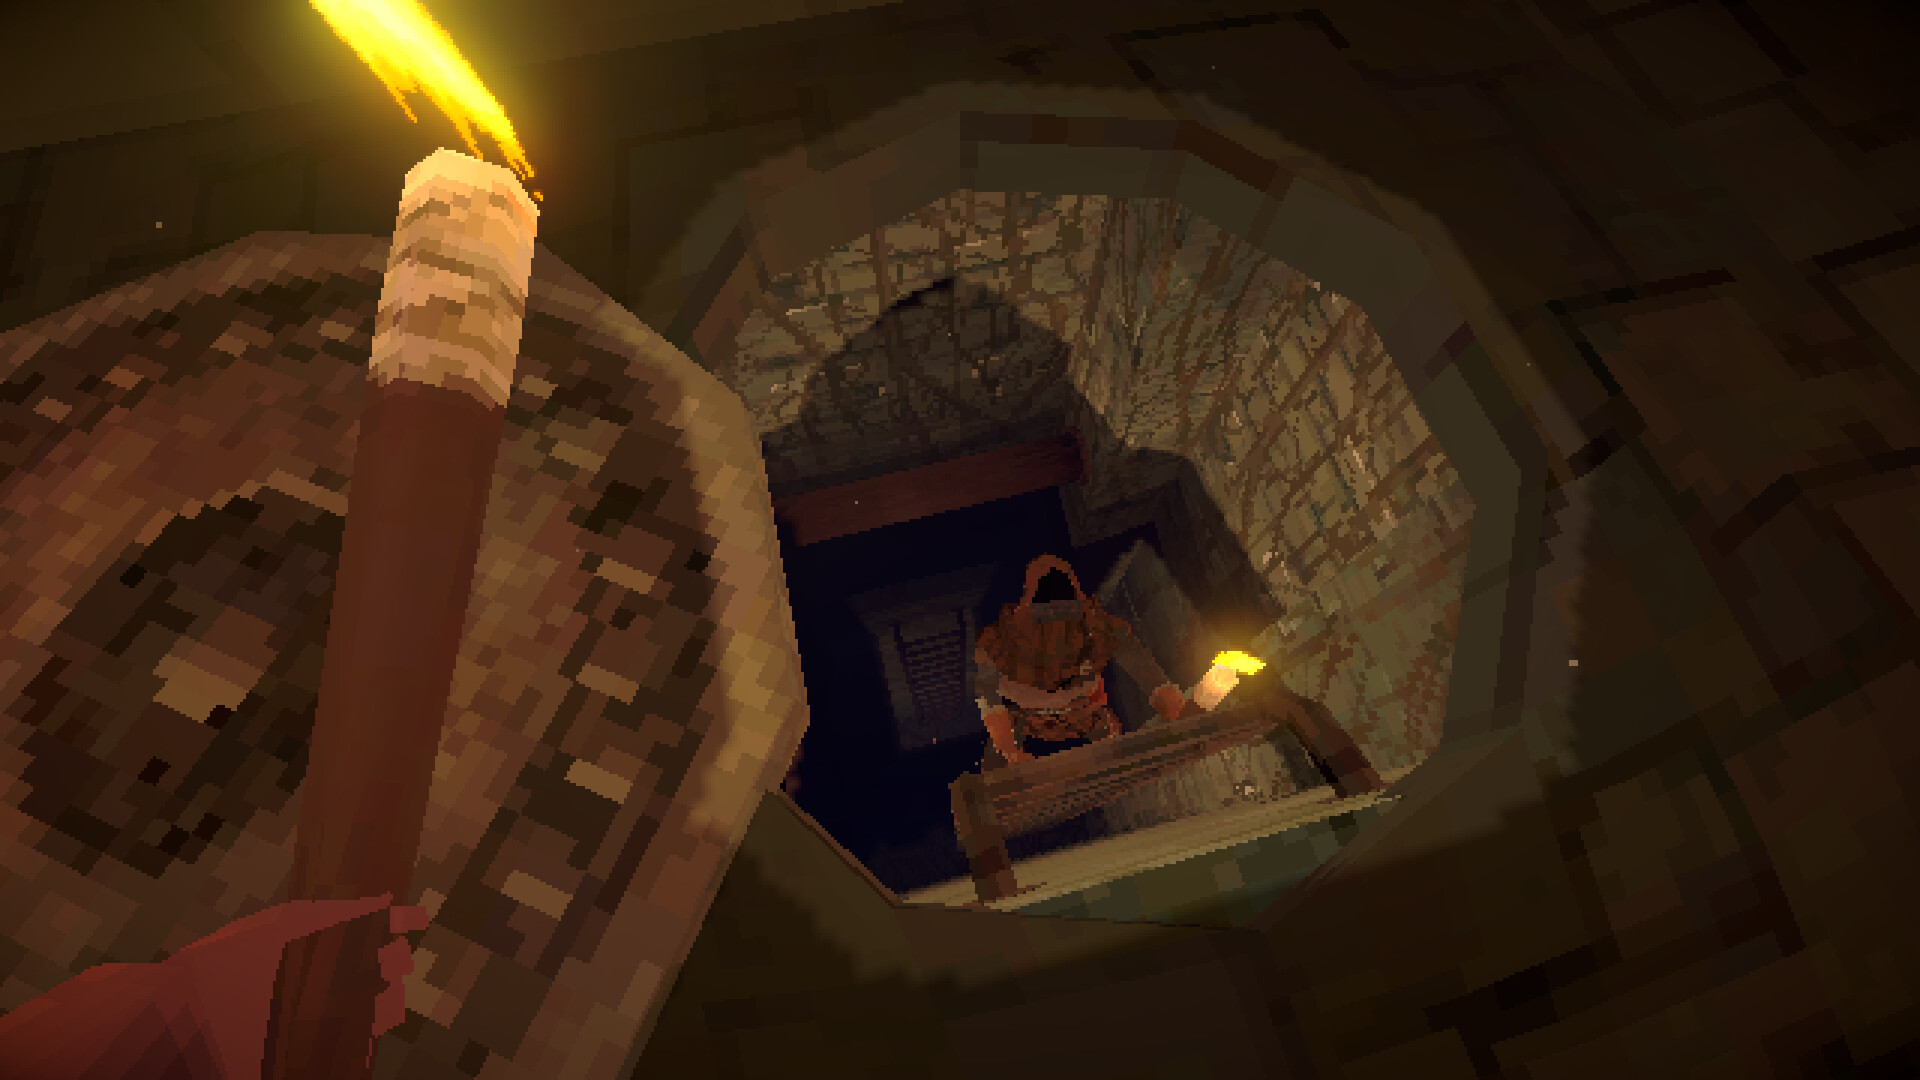
Bring a Hammer, Nails and Rope if you still need to descend through the crypt. Craft a Nail from 1 Iron Rod and Rope from 2 Vines and 1 Stick. With the Hammer equipped and Nails in your inventory, you can place a Nail on a flat wall, then attach Rope to create a climbing route.
Each replacement statue needs 16 Clay at the Statue Mold. Count the empty pedestals after collecting the loose statues so you know how many replacements you need. If you need more Clay, break goo piles with a Pickaxe before returning to the mold.
Find the mold in the lower crypt
The crypt entrance is in the goblin cave opposite the double doors leading to the hub. A useful landmark farther down is the camp behind a sliding door, where the chest contains the Ruby Necklace. From that camp, continue toward the water fountain to reach the shaft leading deeper into the crypt.
- Continue past the fountain into the shaft. This leads to the next section of the descent toward the crypt bottom.
- Place Nails on suitable flat walls along the descent. These provide anchors for the Rope you need to continue downward.
- Attach Rope to the Nails to extend your climbing route toward the paths at the bottom of the shaft.
- Take the left path at the bottom, then turn left shortly afterward. This brings you to the Statue Mold and its Handle.
- Follow the right-hand route at the bottom through both moving doors to reach the Bean Gem area. The statue puzzle lies beyond the gem.
The slightly slanted path at the bottom leads to an elevator connecting back to the prison area. Keep that route in mind for leaving the crypt or collecting more supplies. It gives you an alternative to climbing back through the descent.
Make the missing statues and fill the pedestals
- Collect the loose ordinary statues around the pedestal room and nearby Statue Mold. These reduce the number of replacements you need to cast.
- Load 16 Clay into the Statue Mold to supply the material for a replacement statue.
- Operate the mold's Handle to create the replacement statue. Repeat the casting process whenever another pedestal still needs a statue.
- Carry each available statue to an empty pedestal. This brings the loose or newly molded statue into position for placement.
- Place a statue on each empty pedestal until all six are occupied. Once placed, a statue stays on its pedestal and cannot be taken back off.
The mold's material hint reads “Bring clay.” Use the ordinary movable statues from this area for the pedestals. The collectible Snake Statue is a separate item from the statues used in this puzzle.
Set the final facing directions
Stand between the rows with the sealed snake-head door ahead of you. Use that door as north throughout the solution, keeping left and right fixed from this viewpoint. Read the positions below from the statues closest to the door toward those farthest away.
| Statue position | Final facing direction |
|---|---|
| Left row, nearest the door | South — away from the door |
| Left row, middle pedestal | Northeast — toward the door and right |
| Left row, farthest from the door | Northeast — toward the door and right |
| Right row, nearest the door | Northwest — toward the door and left |
| Right row, middle pedestal | Northwest — toward the door and left |
| Right row, farthest from the door | Southwest — away from the door and left |
For freshly placed statues that you have never turned, the interaction counts are left 2, 7, 7 and right 1, 1, 7, again starting nearest the door. Each interaction advances a statue in the same direction, with eight steps making a full turn. If you have already turned anything, use the final directions in the table instead of adding those counts again.
If the door stays closed
Check that all six pedestals are occupied, then compare each statue's facing with the table while keeping the door ahead. The door opens automatically as soon as every statue is correct. Watch the statue's face as you adjust it, especially when checking the diagonal directions.
Your placed statues and their rotations remain in your save. Reloading therefore keeps your previous adjustments. Continue correcting their current directions rather than treating them as untouched statues.
Collect the Crystal Egg
Go through the opened door to collect the Crystal Egg. Activating it makes you invisible to enemies, and the item is kept on death. It is optional for normal completion and belongs to the treasure collection for the true ending.